Oooooh, pretty…

The other day I was walking along the Strand when something big, red and dress-like caught my eye as I went past the uber posh Coutts bank building. On closer inspection, it was really was a big red dress in the window of a posh bank building.

According to Coutts:

“A red silk crepe strapless ballroom gown, designed by Ralph & Russo, forms the centrepiece of the display. The gown is a unique one-off design and features a full skirt which was hand embroidered with over 100 metres of feathered silk chiffon flowers, each created by hand. The gown took 12 couturiers and hundreds of hours to complete.”

The window display is pretty impressive as well.

You can see a few more snaps and some extra information on their Facebook page.

My 1930’s dress so far

Due to missing my 20s and 30s lesson last week, I am extra looking forward to my lesson today and can hopefully catch up a bit. Thank you for all the comments on which dress I should try and make – most of you suggested the one on the left below, which is also my favourite so we are all in agreement!

I think I might make it a bit longer though so it is more in keeping with the period. I’ve also been thinking about the sleeves a bit more. They were in part inspired by some David Hockney paintings I like (how on trend am I – didn’t even realise the Royal Academy were doing an exhibition of his work when I did this :-)), and partly by the middle Vionnet dress below.

I think I want the sleeves to be a bit more sparkly though, which would obviously be an awful lot of work. I just came across this 1930s dress on vintagetextile.com – aren’t the sleeves amazing! I would estimate me getting something like these done in approximately a million years. Maybe when the baby is old enough I can make it do it for me ‘for fun’ (just kidding!).

Image sources
http://thelendinglibrary.blogspot.com/2011/05/david-hockney.html
http://fashion.telegraph.co.uk/news-features/TMG5614830/Vionnet-exhibition-opens-in-Paris.html
http://vintagetextile.com/new_page_155.htm#bot

More of my drawings: 1920s & 1930s

On Fridays I have a class called Vintage Fashion: 20s and 30s. I love it!

What could be better than actually being allowed to spend a whole lesson in the library, just looking at beautiful dresses?

That’s what we did last week as research for our moodboards, which will then inspire our own designs, from which we will create patterns, toiles, and possibly finished garments for. Exciting!

For those who aren’t sure, here are a couple of 1920s dresses from this amazing website.

Callot Soeurs dress

French beaded flapper dress

Think straight, angular silhouettes, a boyish figure with a flat bust and low hips, and the waistline dropped to the hip.

Embellishments such as beading, sequins, embroidery and applique were popular ways to adorn garments.

By the 1930s the silhouette was much more feminine, emphasizing the natural form of the woman’s body. The waistline moved back up to its natural position, and many dresses were cut on the bias. This meant that the fabric clung to the body, hanging in a smooth vertical drape.

Here are some stunning examples by Madeleine Vionnet.

So here is my moodboard:

And here are the drawings I have done so far from this inspiration. I was trying to think about what I wanted to learn about (bias-cutting), what I would actually wear (more likely a day dress), what would flatter my shape most (1930s), and what would look pretty (sparkles!).

Does anyone have any favourites – I’m only allowed to choose one!

Image sources
http://www.burdastyle.com/blog/pulling-from-the-past-wedding-gown-inspiration
http://www.coletterie.com/fashion-history/madeleine-vionnet-sculptural-modeling
http://collections.vam.ac.uk/item/O74062/evening-dress/ 

Tea anyone?

These last few months it has sometimes felt a bit like I’ve gone back in time – I’m back at school with regular lessons, I get half term and now the Christmas holidays, I have homework, and now I have started some work experience! Once a week I have started helping out Anna, who owns women’s wear label Phannatiq.

While our tastes in clothes are extremely different I am learning heaps every time I go. Far from being the tea-girl (I was that girl once. I don’t drink tea or coffee and cannot tell you what a stressful experience I found it), I am finding out lots about how to construct clothes, and getting to try doing new things. I am also getting an insight into the dedication and passion needed to run your own business!

On Tuesday I was tracing off pattern pieces for a toile (rough version) that Anna is working on at the moment.

She began by using an existing jacket toile to mark out the new design.

Each section of the jacket was then marked with a number (think this was more for my benefit than what is normally done!) and I then took the toile and pinned each section flat onto pattern paper.

Using a tracing wheel I traced each section on to the paper.

I then used a pattern master to draw the pattern piece out by following the dots the tracing wheel left.

Although seam allowance still needs to be added, this process created the individual pattern pieces to then make a new toile of the jacket.

Geisha templates: good or bad?!

As I said in my last post about my Japanese fashion design project, the next stage is designing the actual garments. In order to do this I first composed a mood board to describe the colour palette, types of fabric, and overall feel I want for the collection.

The photo isn’t great, but hopefully you get the idea!

From what I have learnt in my fashion design lessons, and from doing some extra research the next stage in designing the collection is to create a fashion figure template to use when drawing your ideas. This saves time worrying about getting the figure right each time so that you can focus on the garments. You may remember my attempts at drawing fashion figures!

Here is a much better example of a template you could use.

Female Fashion Figure Croqui 049

Swing those hips!

Not to be discouraged by my previous drawing attempts, I came up with the idea that I would like my templates to have a Japanese feel to them. To do this I looked back through my research at some of the Japanese prints of geisha that I found, and traced what I thought their bodies must be doing under all their layers. I then used an old fashioned nibbed pen and indian ink to create the final templates. I can’t decide if they just look a bit odd, but will see if I can use them in my class tomorrow!

I think they may have a bit of a Mrs Hughes (Downton Abbey) and her big flat hat look about them, rather than being Japanese!

Downton Abbey S02E05

Also during my research I found these fashion illustrations from the early 1900s by Georges Lepape. I love them for their simplicity of line and blocks of colour. And would you believe, they’re influenced by the Japanese stencilling technique of pochoir! You can read a bit more about pochoir and its popularity in Paris at the beginning of the 20th century here.

I am definitely going to bear these in mind when doing my collection drawings.

Image Sources
http://www.emmerdale.me.uk/tv/s183/downton-abbey/recaps/a345646/downton-abbey-what-happened-this-week.html
http://www.designersnexus.com/free-fashion-croquis-templates/female-fashion-figure-049/
http://inspirationresource.com/inspire/?cat=179
http://dressmaker.wordpress.com/2009/04/17/inspiration-magazine-covers-from-the-1920s/george-plank-vogue-october-1921/
http://hprints.com/Gazette_du_Bon_Ton_1913_Georges_Lepape_Les_Trois_Robes_Neuves_Pochoir-25268.html

Japanese Sketchbook

I haven’t really given much of an update on the Japan project I am doing in my Fashion Design class, mainly because I have just been cutting and sticking for a few weeks.

I have a few completed pages of research to show you now from my sketchbook. They are helping me to decide what colour palette to use for my capsule collection, the types of fabric I might use, and the shapes and structures of the clothes.

The next stage will be a moodboard, and then designing I think! I want the collection to be something I would actually wear, rather than a crazy origami-like creation.

This slideshow requires JavaScript.

Check out my IT skills – I put in a slideshow! Now, if only I could work out how I did it…


I finally did some good drawings!

Last week in my Fashion Design class we did some more drawings – and I could actually do them! And I’m going to bore you with them ALL because I’m quite pleased with myself after the miserable attempts I’ve been showing you recently 🙂

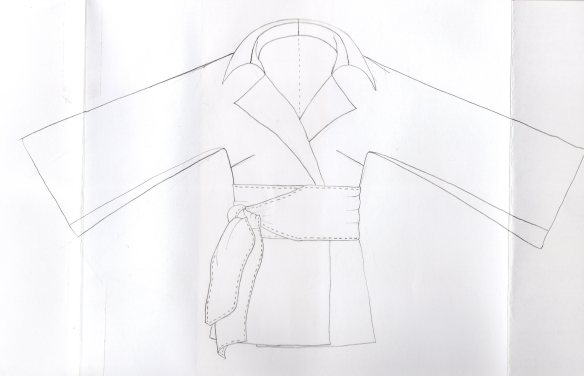
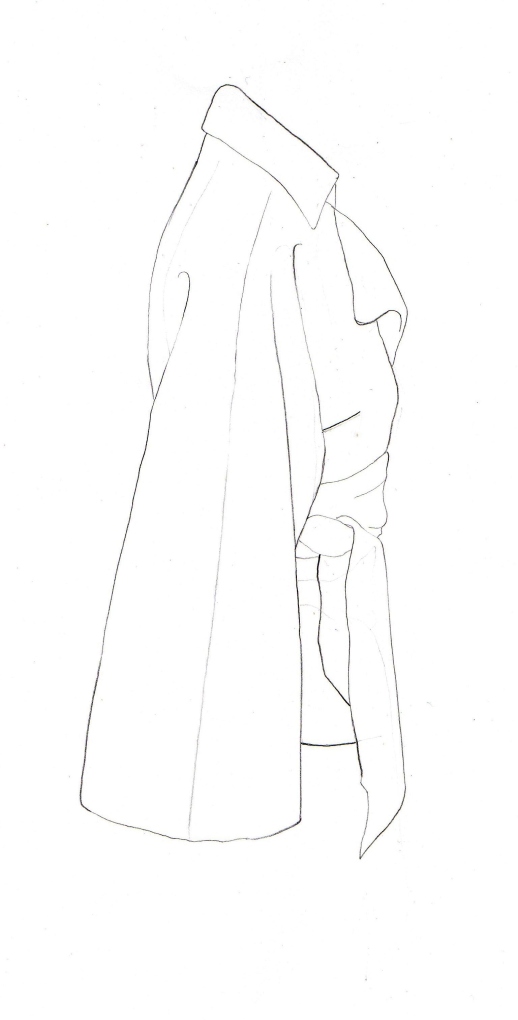
We were taught about technical drawings, or flats. Flats are used in garment production to communicate the specifications of the piece (shape, size, colour, fabrics, details and style lines). These details are used to create a pattern and construct the garment.

Here are some examples.

When drawing a flat you should follow some rules:

– Flats are drawn symmetrically
– Flats include all seam and construction detail
– Flats reflect real proportions (7.5 / 8 heads), unlike the elongated fashion figure

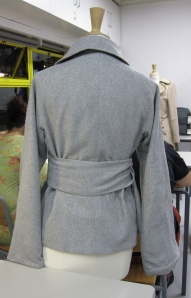
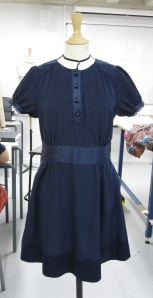
To create my technical drawings I used my coat, and one of my dresses.

To get the arms right I had to lay the coat out on the table after drawing the middle section.

This dress was awfully expensive, from a certain high street chain beginning with P and ending in Mark, but it’s one I probably get the most compliments for!

!!!!PILLOWCASE DRESS UPDATE!!!

News of my challenge has reached across the water, and Annie who now lives in the US has made a lovely pillowcase dress!

Instead of using a pillowcase, Annie followed the simple tutorial from LBG Studio to make her dress from fabric. You can read all about it on her blog Nimble Fingers and Steady Eyebrows. Thanks Annie!

And thanks to Tilly and the Buttons for her blog post on my Drink, Shop & Do event on 6th December!

Image sources
http://gorgeousthings.blogspot.com/2010/03/dont-forget-technical-drawing.html
http://matcmadison.edu/better-design
http://train-srv.manipalu.com/wpress/?p=68718 

Dave Makes a Dress!

Firstly a quick bit about my Fashion Design class on Wednesday night, then on to Dave’s dress making adventure!

I had to be a bit late to my class, so I don’t have quite so many awful drawings to show you this time. I did manage to produce something OK though.

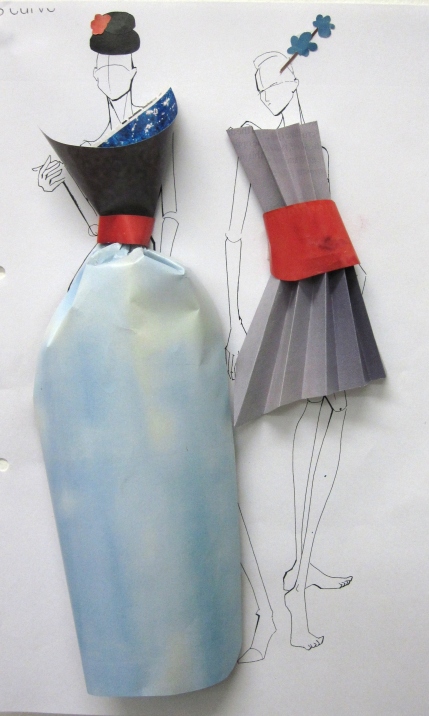
We were given a photocopy of some professionally drawn (can’t think why!) fashion figures, and then using collage we had to create outfits for them based on our themes. As I explained in my last Fashion Design post, mine is Japan: Geisha or Kimono.

From the research I’ve already done I chose to focus on red, blue and grey as my colours, and the ideas of origami and wrapping. This is what I created!

A couple of highly impractical outfits, I think you’ll agree! Next Wednesday we are moving on to learning how to draw garments themselves.

!!!PILLOWCASE DRESS UPDATE!!!

Today (Sunday) has been a super crafty day at Peggys Pickles HQ. Not only have I made a pillowcase dress, but Dave actually volunteered to make one as well! And I have evidence!

So, no excuses people! If Dave can do it so can you!

You can see the two dresses we made in the Pillowcase Dress Gallery, or have a look at my Pillowcase Dress Challenge page to find out how you can get involved!

Turning Japanese

It’s time for some more comedy drawings!!

In the Fashion Design lesson last Thursday we started to build on the matchstick men we did the week before. Like so:

And here are my attempts.

Still a bit of progress needed, but hopefully practice will make perfect!

We also started research for our main project, which will then inspire the designs for our capsule collection of clothes.

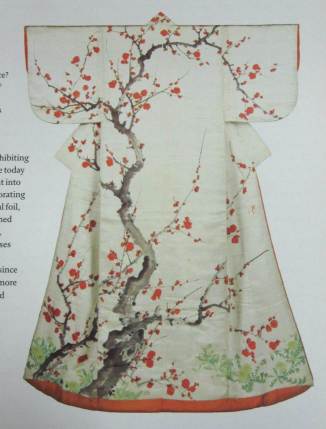
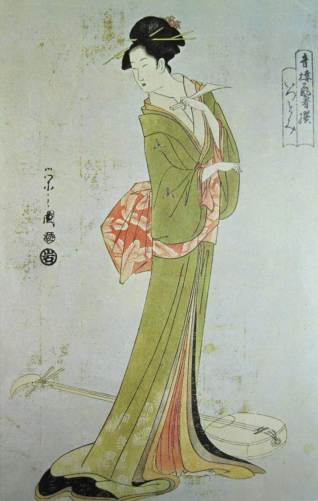
I have been given the topic ‘Japan: Geisha or Kimono’. Having been to Japan I’m really excited about this project and think there’s lots of scope for ideas.

Here are some of the things I have found so far to use for inspiration.

‘Kosode with Plum Tree and Flowering Plants’, Sakai Hoitsu, Edo period – early 19th Century
‘The Courtesan Itsutomi holding a plectrum’, Chobunsai Eishi, 1800s

Not really this one! Dave bought me this toy when we were in Japan – that was over two years ago and the peas still make me laugh 🙂

Sources

  • Japanese Colour Prints, Jack Hillier – Phaidon
  • Kimono as Art: The landscapes of Itchiku Kubota, Dale Carolyn Gluckman and Hollis Goodall – Thames & Hudson

Matchstick Men

Good Morning! I’m feeling very summery today with the sun shining AGAIN, and I’m wearing my new Sorbetto Top!

Wednesdays are my Fashion Design class, and it seems these might be the most entertaining blog posts as it involves showing you my attempts at drawing!

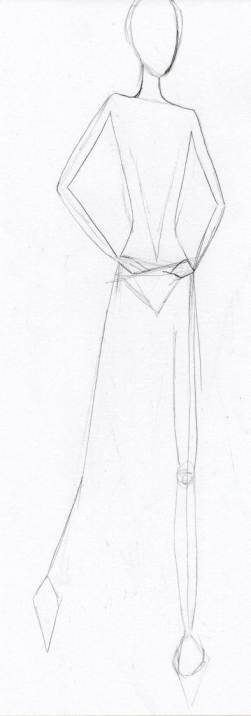
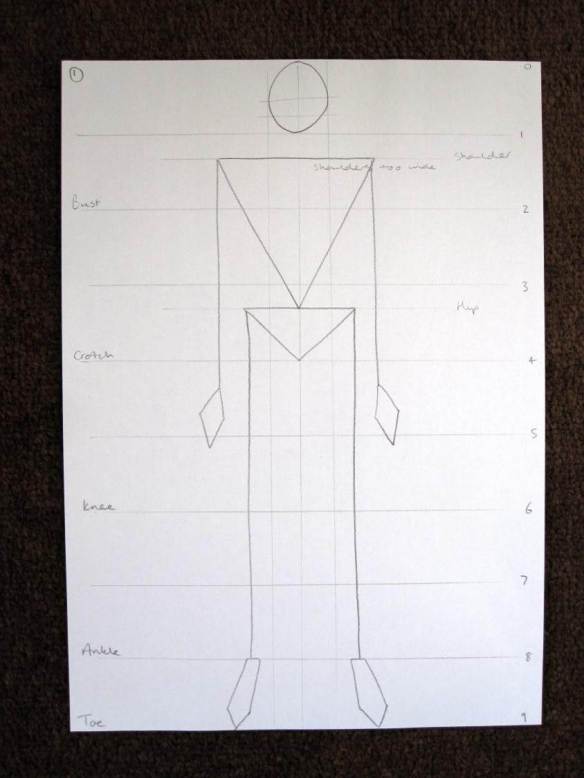
Last week we started to understand how to draw the fashion figure. Now, the fashion figure I’m sure you can guess has little resemblance to a ‘normal’ figure. She has impossibly long limbs, is incredibly confident, and stunning. This was my first attempt at creating this vision of beauty:

Pretty spot on I think you’ll agree – I am particularly fond of her body builder shoulders!

To be able to draw using the correct proportions we were taught the basic shapes that make up the body, and where to place them using the numbered grid you can see. We were also given the diagram below to help understand the sizes of body parts in relation to each other. From a practical exercise I undertook when I got home last Wednesday, I’m pretty sure my foot is not the same size as my head.

As we kept practicing our drawings and tried out different poses, I do think mine improved slightly – this was the last one I did:

In tonight’s lesson we learn how to flesh out the figure to look something like these two stunners:

We are also being encouraged to find our ‘own personal drawing style’. I took this book out of the library to try and practice my drawing at home, but having looked through it I was far more interested in some of the clothes!

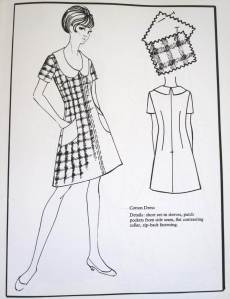
First published in 1970, I love the retro designs and it would be great to use them as inspiration later down the line.