Pyjama Party: The Worst / Best / Funniest thing I have ever made…

For those of you who read other sewing blogs, I’m sure you can’t have missed the fact that today is Pyjama Party day!

This is the grand finale of a sewalong run by Karen at Did You Make That?. After a frustrating week last week of not being able to make very much because the little person growing in my belly gets in the way, I decided making pyjama bottoms might be the perfect pick-me-up as they would be simple, not require too much bending over and cutting time, and apparently after the baby comes you live in jammies for a few weeks.

This is the pattern I bought.

Having been swept away by the couple on the front of the pattern envelope, I had another idea. PJs for me and Dave!! (Not matching though, hopefully we will never reach the matching stage)

Now, I’m not sure about the etiquette of having a BOY at the Pyjama Party. Do I need to get parental permission? Do we stay in separate rooms even though we’re married…?

Unfortunately though, two pairs of PJs weren’t meant to be due to the very late arrival of the pattern in the post (yesterday). Instead I have just made Dave’s as a thank you for how brilliant he’s been in looking after me whilst I’m pregnant. I am pretty sure I haven’t always been the easiest person to deal with, and it requires a man of great patience to run to the corner shop late at night without a whisper of a complaint, because I have a ‘craving’ for Coco Pops.

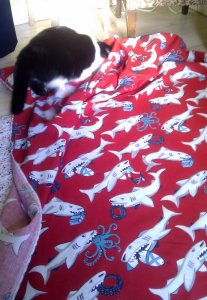
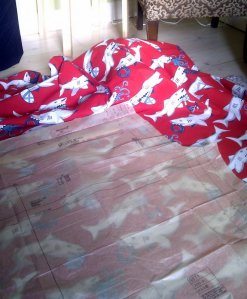
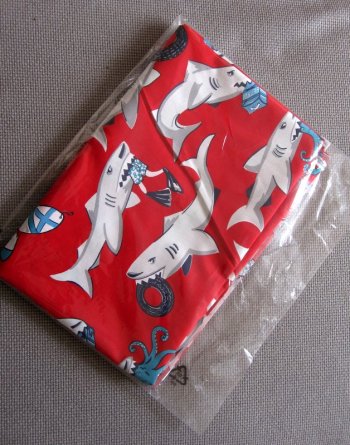
So, Dave’s PJ fabric. Now this is where it possibly starts to get a bit silly. The options were traditional tartan, or something a bit more ‘interesting’. Having been let loose on Goldhawk Road (a street in London with lots of amazing fabric shops) unsupervised, take a wild guess which I went for.

SHARK ATTACK!!!!!!!!!!!!!!!

Again, I must point out that I was shopping alone.

When the man in the shop found out I was being such a loving wife, he promptly said he would specially wrap my fabric up for me. (He meant the cellophane bag you see in the picture above, not the tissue paper and ribbons I’d been imagining :-))

Now, sharks aren’t neccessarily the most relaxing choice for a pair of jammies, but never fear Dave, Peggy’s got your back. She’s not scared of no sharks!!

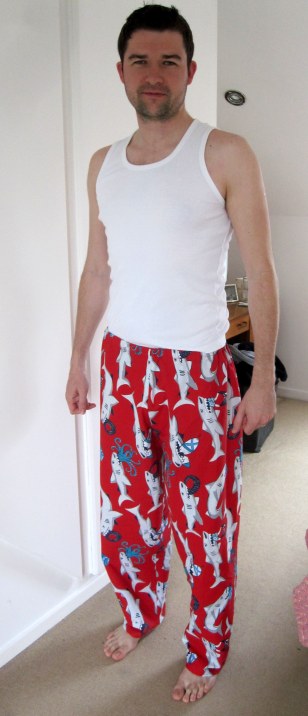
Thankfully this was a super easy pattern with only one pattern piece, so they didn’t take too long to make. The tricky part was the fact that Dave was away while I was making them, so I had to guess a bit with which size to go for. Now that I have Dave and his measurements back, I should have gone for the smaller size.


And that is why I have decided these are the ‘Worst / Best / Funniest thing I have ever made…’ The fabric is awful / amazing, and the fit is veering on the clown-like, but they make me chuckle every time I see them. And that has never happened with anything I’ve made before!

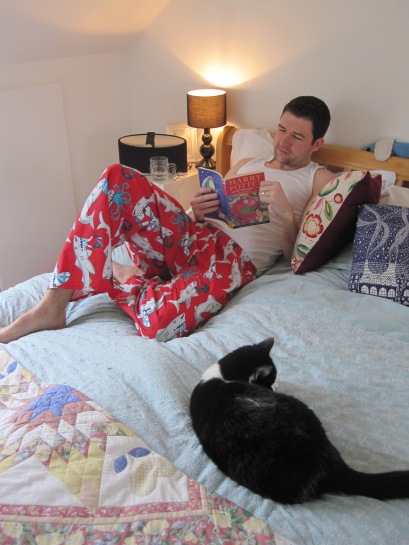
Dave reading his grown-up book, in his grown-up PJs

I would say don’t worry, no-ones going to see you in these Dave, but now I’ve written a whole blog post on them!

(Thanks Karen for a great sewalong, it has made me laugh a lot, although not necessarily in ways I was expecting :-))

Image source
http://onlinecraftmall.com.au/Simplicity-9871-Sewing-Pattern-Its-So-Easy-MissMen-Sleepwear-P1592598.aspx

Adjusting trouser patterns

Today I’m going to explain how I altered the pattern pieces of the pair of trousers I’m making in my Clothes Making class.

First, I took (or remembered from pre-pregnancy days!) the following measurements:

– Waist: Smallest part around body (Diagram A)
– Hip: Widest part of lower body (Diagram A)
– Inside Leg. Top of inside of leg to floor (Diagram A)
– Outside Leg. Waist to floor
– Crotch Depth. Waist to flat surface while sitting (Diagram B)

Women Size Guide

Diagram A

Diagram B

With these measurements I was then able to determine which size of trouser pattern was the nearest match (remembering to allow for any ease included in the pattern), and make any fitting adjustments that were needed.

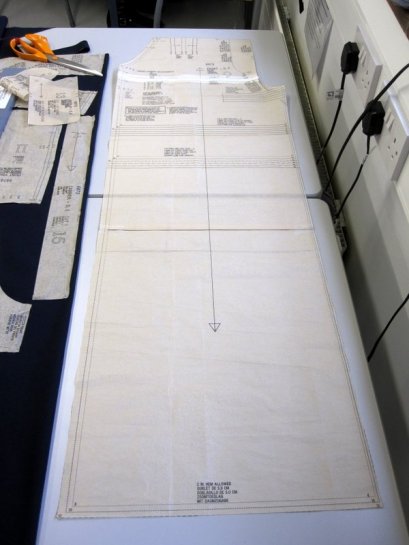
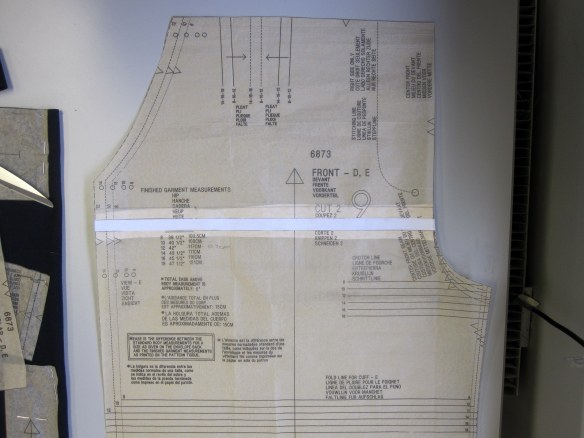
This is the front trouser pattern piece, after I have adjusted the crotch depth and length of trouser.

Rather than doing it how I did it, length of trouser then crotch depth, you should adjust the crotch depth first. This should be done of the back pattern piece.

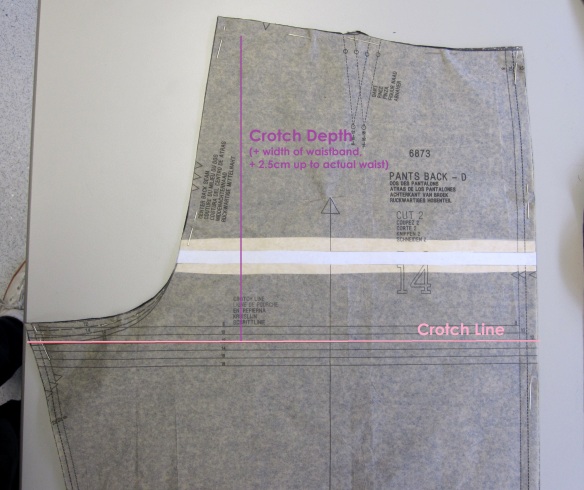
On the pattern the crotch line is marked with a horizontal line (pink line). From this line, up to the top of the waistband is the crotch depth.

On this pattern, the waistband is a seperate pattern piece (not shown), and the top of the finished waistband sits 2.5cm below the waist.

This meant that I had to add 2.5cm, and the width of the waistband (minus seam allowance), to the crotch depth on the main pattern piece. After doing all of this, the crotch depth came to 1cm less than my actual measurement, which would mean a very snug fit and the possibility of not being able to sit down!

You should also add 1 – 2cm ease to the crotch depth. In order to make this adjustment, I cut a straight line through the pattern piece, between the top of the pattern piece and the crotch line.

I then spread the pattern open by 2cm (the additional 1cm needed for crotch depth to equal my own, and 1cm ease), and filled it with extra paper. This is the white line you can see in the photo above.

You should ensure that all lines on the pattern (e.g. grain line) still line up now the pattern pieces have been separated.

This alteration should then be done to the front pattern piece as well.

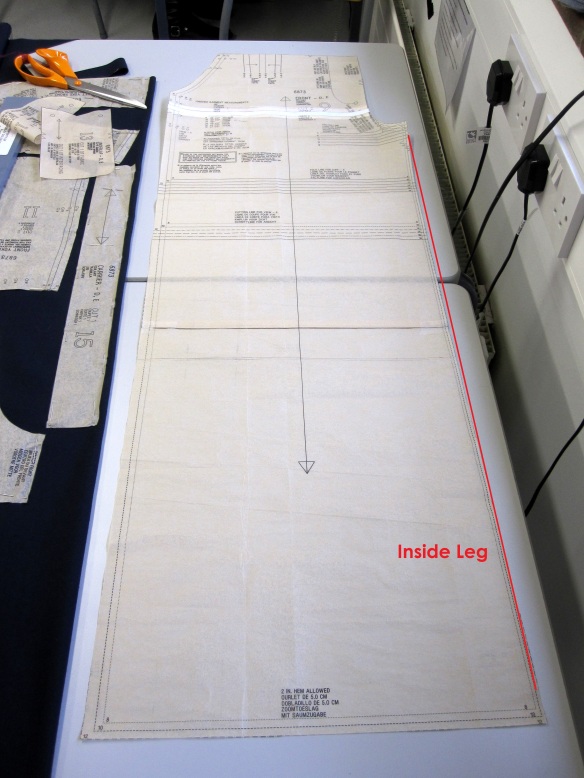
The next step was to alter the length. To do this I used my inside leg measurement, and compared it to the inside leg measurement on the front pattern piece. This is taken from the crotch line downwards, but stopping before the 2.5cm hem allowance.

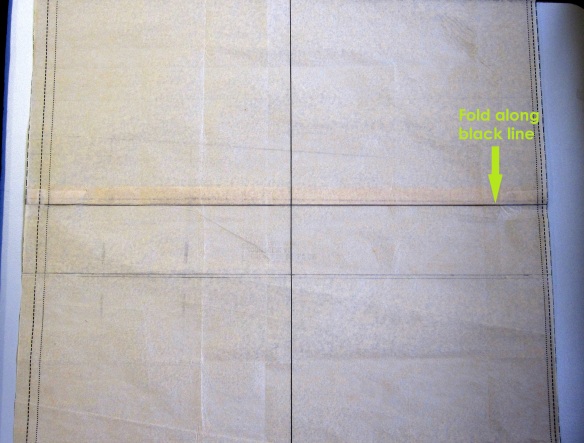
It seems I am a little bit short, so I had to remove 2cm from the pattern. Most patterns have a horizontal black line indicating where adjustments should be made without altering the overall cut of the garment. Here I folded away 2cm of the pattern to make the trousers the correct length.

This was then repeated for the back pattern piece.

And those were the alterations I made! There are obviously many more that need to be made for a perfect fit, but that’s plenty for a beginners class I think!

Image sources
http://www.houseoffraser.co.uk/General+Sizing+Guides/M162_GENERAL_SIZING_GUIDES,default,pg.html
http://84.243.208.241/~kozomara/index.php?option=com_wrapper&view=wrapper&Itemid=282

Diamonds Are A Girls Best Friend

Yes, I firmly believe in the above phrase (Dave, that’s aimed at you. Did I mention I’m going to be getting a person out of me in a few months time? :-))

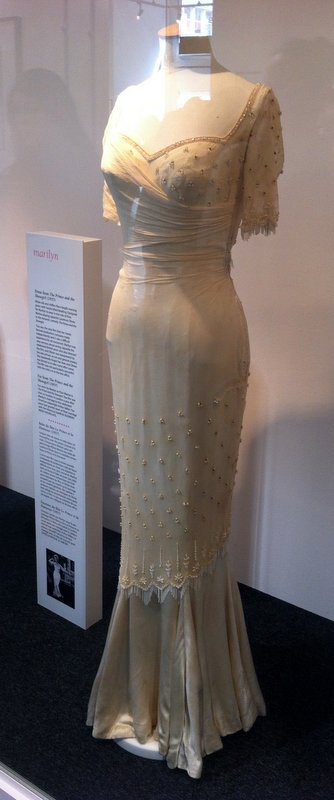
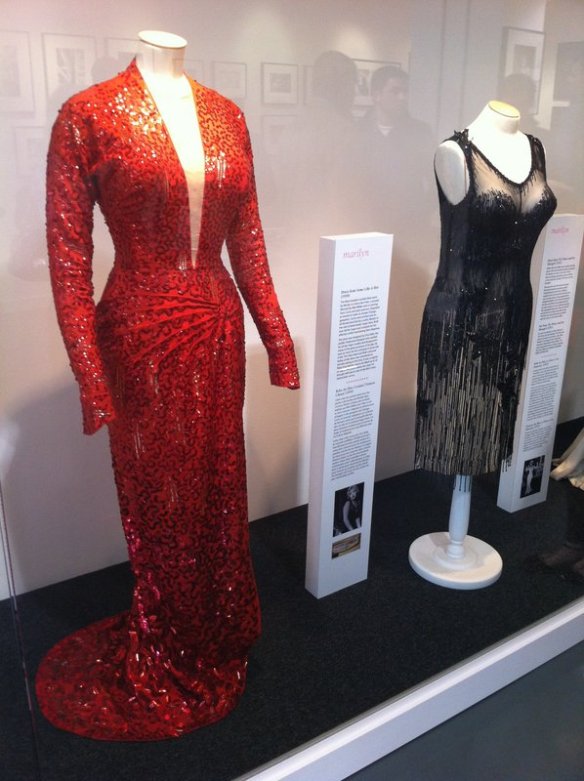
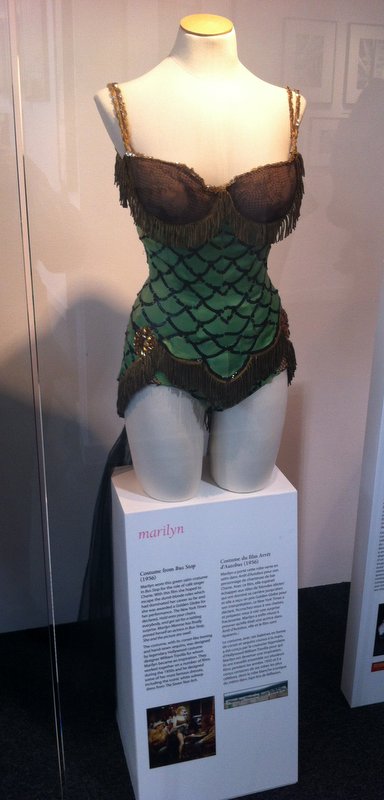
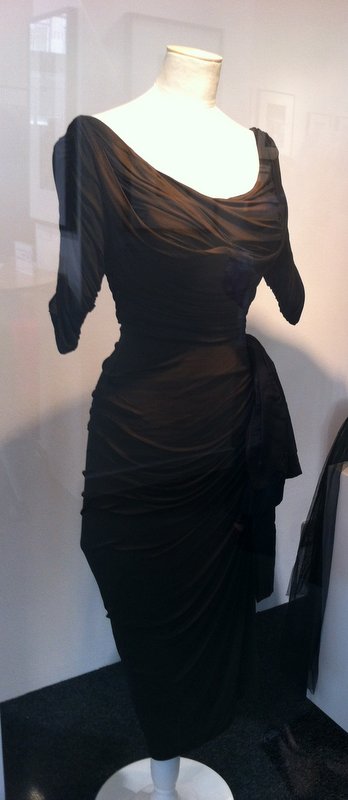
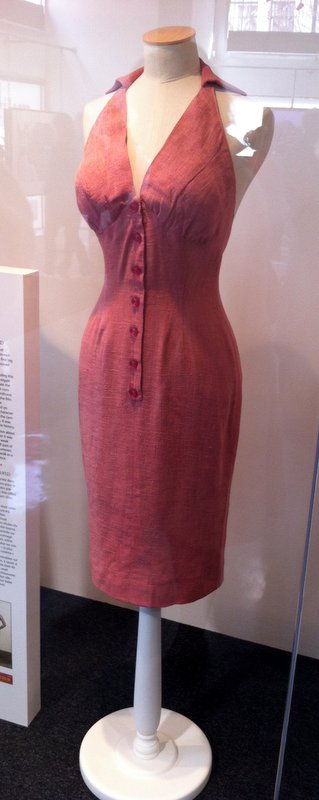
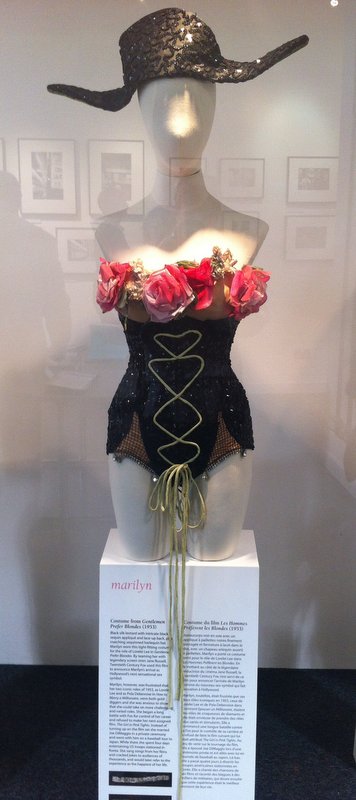
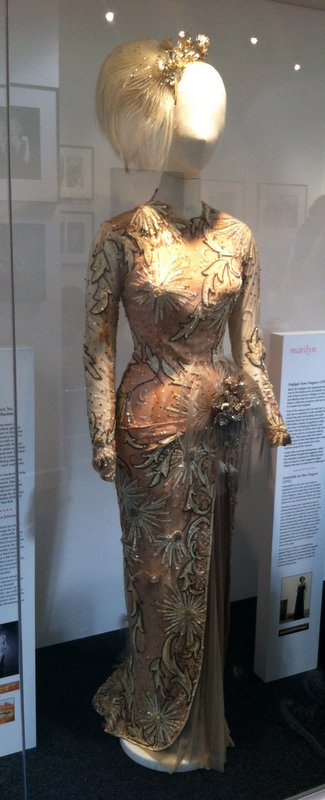
The reason I have quoted the song made famous by Marylin Monroe is because Dave took me to see a small exhibition (see, you brought it on yourself Dave) at the Getty Images Gallery just behind Oxford Street at the weekend. The exhibition commemmorates 50 years since the death of Marilyn Monroe through photographs and a display of costumes and dresses worn by the star.

It was obviously the dresses that we went for, and here is a selection for you to see. One of the things I thought was lacking from some of the exhibition was being able to see an image of Monroe wearing the dress, so I have tried to do that here instead.

  The Prince and the Showgirl

Gentlemen Prefer Blondes

Some Like it Hot

Bus Stop

Niagara

Gentlemen Prefer Blondes

There’s No Business Like Show Business

The exhibition is open until 23 May, and although it’s small I’d recommend popping in to have a peek!

Images Sources
Please click on each image to be taken to where I found it.

Pyjama Party!

After yesterday’s post of being frustrated about not really making much at the moment, I decided a simple project might be better than nothing at all.

A week or so ago Karen over at Did You Make That launched her Pyjama Party sewalong, which gives me the perfect opportunity to make some PJ bottoms that actually fit my belly, join the other 100+ party goers, and make a project that hopefully won’t require me to spend hours kneeling on the floor cutting out pattern pieces. All in all a good idea I reckon!

I’ve just ordered the pattern below (couldn’t find the one Karen recommends), mainly because of the dashing young couple on the front 🙂

Next I need to find some suitable fabric…

Image source
http://onlinecraftmall.com.au/Simplicity-9871-Sewing-Pattern-Its-So-Easy-MissMen-Sleepwear-P1592598.aspx
Trousers – aaahhhhhh!!!

I feel like I should start this post by apologising for not blogging very much these days.

Back at the start I was finding things to write about everyday, and was definitely making a lot more things. But as I said in my Mum’s Maternity Top post I am finding it increasingly difficult to do too much at home as much of the cutting out would have to be done on the floor, and I have a rather large bump getting in my way!

I’m sure you’re lives are all continuing much the same despite my lack of productivity and blogging, but I am finding it quite frustrating! After a two week break for Easter though, I am now back at college so will hopefully be able to share a bit more with you again.

Having made a simple skirt and two tops in my Clothes Making class, this term we are making trousers. Now, trousers seem to be notorious for being a bit tricky. I think this is more from a fitting perspective rather than a construction point of view. At least that’s what I found when making my one and only pair last year.

My tutor has kindly let me try a slightly more difficult pair so that I can learn as much as possible before the baby comes, so I went for the ones below (New Look 6873).

Photo

Line Drawing

While I’m not sure they fit with my usual taste, I chose them because they have a zip, buttons, pleats, belt loops and pockets. That should all keep me busy!! Apart from pockets and pleats I haven’t been shown how to do any of those things properly and am keen to learn.

Fitting the trousers is obviously a bit problematic right now – I measured yesterday and my waist is currently over 30cms bigger than normal! The best solution is to use my old measurements to alter the pattern, and then hope that I will return to that size asap. I won’t actually be able to check they fit properly until that happens, so am focusing more on the construction. A bit annoying, but not a lot I can do about it really!

I have chosen a navy wool / polyester mix fabric as it will have a nicer drape than cotton, and went for the poly mix rather than the wool crepe I could have chosen because the former doesn’t need hand washing. I don’t imagine I will be wanting to do much hand washing in the near future!
If you go on the amount of pattern pieces required, these will probably be the most complicated thing I have attempted so far!

Ten pieces – the most I have worked with so far has been five I reckon!

Image sources
http://sewing.patternreview.com/patterns/27233

1940s patterns – which one to choose?!

Next week I go back to school, and I am doing a course called Vintage Fashion: 1940s and 1950s.

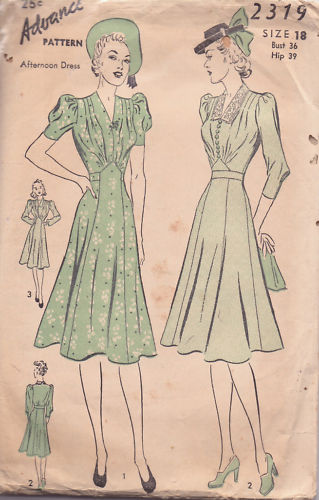
For the course we are required to bring a 1940s or 1950s inspired pattern, so I have spent the last little while looking on eBay at 1940s patterns! While I know that 1950s style dresses suit me well I already own a couple of dresses and patterns, and think there might be more scope for learning new techniques in the 1940s dresses.

Here are some of my favourites – most of which come from The Vintage Pattern Store eBay shop. If you click on the image it should take you to the eBay listing itself.

Now all I need to do is decide which one to get!

Finished Project: Mum’s maternity top

I think I may be nearing the end of being able to make clothes at home for a while :-(. I have to cut the fabric out on the floor and it’s getting a little tricky to bend down without squashing the baby!

I will hopefully be able to enlist some (Dave) help to make at least one more thing I’d been planning, but for now I have just finished the 1980s maternity top using my mum’s pattern from when she was pregnant with me.

I made the middle top, with elements of each of the other dresses.

I was really pleased with everything I’d learnt and how well I’d been able to do it – from rouleau loops (see the tutorial I did here), to my first collar, to making the front buttony bit (not sure what that’s called!) neat on the outside and inside – you can’t see any seams or anything from inside!

Then I went to shorten the sleeves and realised I’d been a bit over zealous with the overlocker and got a bit of the left (right in the top photo) sleeve itself trapped in the seam, hence the horrible crease you can see in the photo! Thankfully it’s not as noticeable when on I don’t think, especially if I turn that arm away from the camera…!

The style is obviously not meant to be figure hugging, but even so I took quite a bit of fabric out at the back seam to make it slightly more flattering – it is part baby and part fabric making it stick out that far!

While it’s not a top I would necessarily choose if I wasn’t pregnant, I learnt lots in its construction, and it’s nice to have used one of my mum’s patterns!

The Best Parcel EVER!

Over the weekend possibly the highlight of my blogging career happened – I won a competition run by another blogger!

Joanne over at Stitch & Witter reached her 100th blog post, and to celebrate hosted a giveaway which I won – WOOOOHOOOO!!!

And in the post today arrived this pretty little package…

Full of pretty little things…

I can’t wait to make the pattern when I am a bit less lumpy, and will be on the lookout for white gloves and a parasol to complete the outfit as per the model in the middle (although she appears to have mislaid her legs – I will try not to do that).

Thanks Joanne!!