By the end of my Clothes Making class on Monday, I was feeling pree-tty pleased with myself. Why? Because I not only learnt what a rouleau loop is, but I also learnt how to make one.
So what is a rouleau loop?
It does not, as I spent much of my lesson hoping, have anything to do with a roulade except for the fact both words are to do with rolling in French.
Num, num, num...
Sadly, a rouleau loop is in no way edible.
Rouleau on it’s own is a decorative technique that involves creating patterns with piping, cording or bias tape.

A rouleau loop uses the same cord or piping, but as a way of fastening buttons. I guess we’re most familiar with them being used down the back of bridal gowns. No prizes for guessing whose dress came up most when I did a quick search!

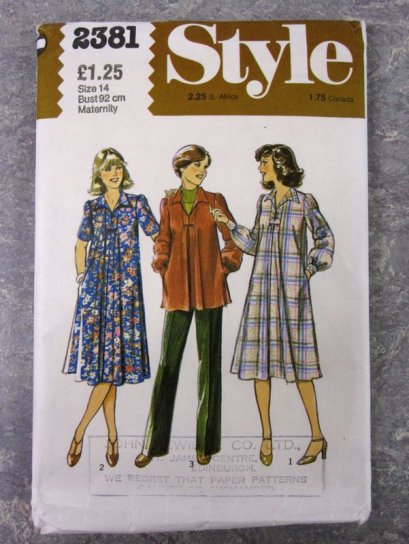
As you may have seen from a previous post, I am currently making a top using a maternity pattern my mum had when she was pregnant with me.
I am making the middle top, but with short sleeves and two buttons down the front. It is these two buttons that require the rouleau loops, so here goes on how I did it!
(Apologies for poor photos, I forgot my camera so had to use my phone)
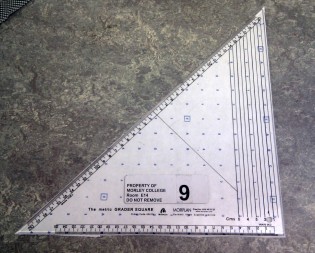
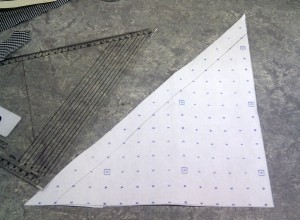
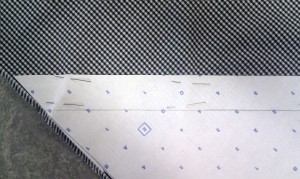
By drawing round a set square, cut a piece of paper with a right angle and 45 degree angle.
Next, draw a line 2.5cm (or as required) in from the 45 degree angle.
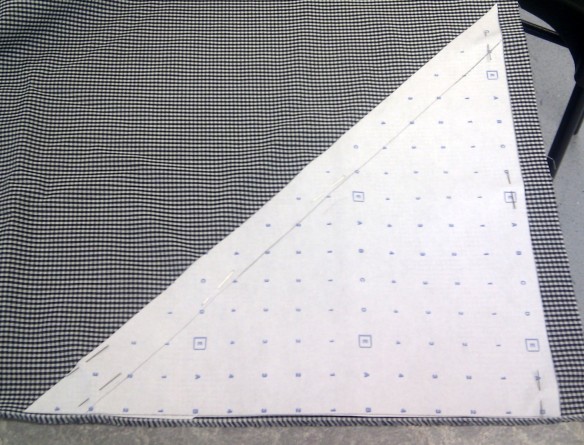
Pin this triangle on to your fabric, using the straight sides to line up with the selvedge. The 45 degree line gives you your bias.
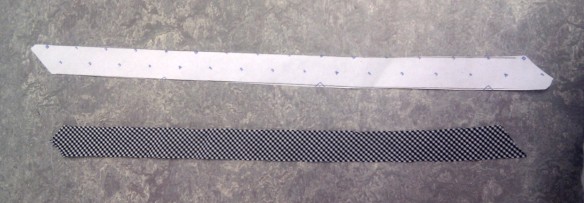
Cut along the inside line drawn at 2.5cm parallel to the 45 degree line, this will create a strip of fabric cut on the bias.
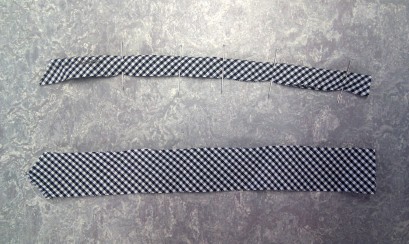
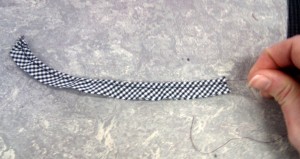
Fold the strip in half lengthways and pin together.
Sew a straight line a few millimeters from the folded edge.
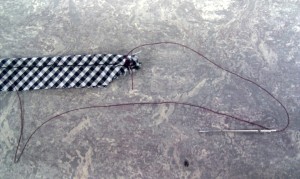
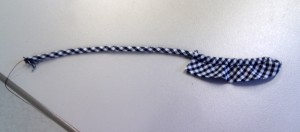
Taking a strong needle and thread, attach the thread to one end of the fabric, next to the opening of the channel you have created. Now for the tricky bit!
Start threading the needle through the channel, but with the blunt end first to make it easier. Keep going until the needle and thread come out the other end.
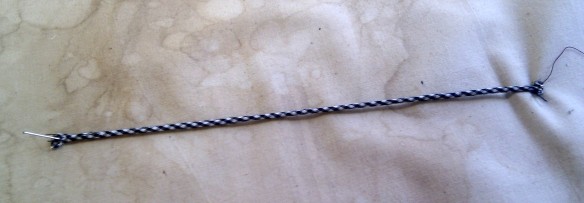
The fabric now needs to be turned inside out, with all the excess fabric being captured within the roll. This took me a lot of wriggling and trial and error, but essentially you should be able to pull the thread, which will in turn pull the fabric through from the other end where you have already attached it firmly.
Keep going!
Eventually it will all come through, and it then needs a quick steam from the iron by pinning each end to the ironing board.
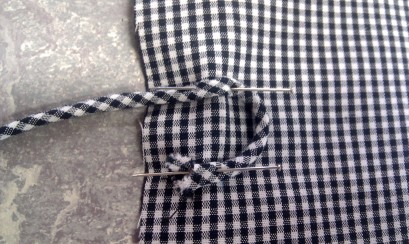
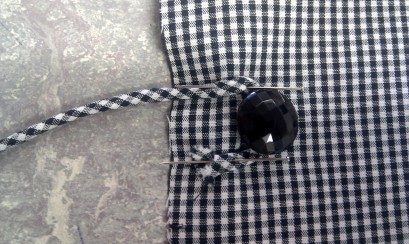
I then used this cord to create the rouleau loops for my buttons, checking the size of the loops against the buttons themselves.
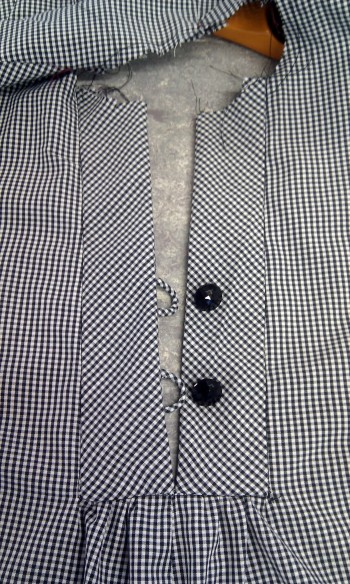
The final rouleau loops on the front of my top!
If none of this makes sense, I found this guide here which may be useful!
Image sources
http://www.bbcgoodfood.com/recipes/5142/mango-and-passion-fruit-roulade
http://blog.tepapa.govt.nz/category/history/fashion-history/
http://designgloss.tumblr.com/



Great tute Alison! I did the same last week for a new Colette Violet featuring loops instead of button holes. I used exactly the same method using a Colette Patterns tutorial:
http://www.coletterie.com/tutorials-tips-tricks/button-loops-tutorial
I didn’t know they were called rouleau loops though 🙂 The only different thing I did was to trim the seam allowance to half its previous width after sewing the straight line. I also crossed my raw ends when tacking them to the blouse but I think that was only necessary because of my teeny tiny buttons.
Your loops look great – am very impressed!
Lovely! I want to do this soon!
Pingback: Finished Project: Mum’s maternity top | Peggy's Pickles
Fab tutorial. Thank you x